Clerk: Session and Plans
In the Clerk series finale, we cover two more topics: adding more user details to a session and checking active subscriptions.


In the Clerk series finale, we cover two more topics: adding more user details to a session and checking active subscriptions.
If you remember, we completed the previous post with authentication and login/logout integration. The application receives a unique user ID and some extra details relevant to the JWT exchange.
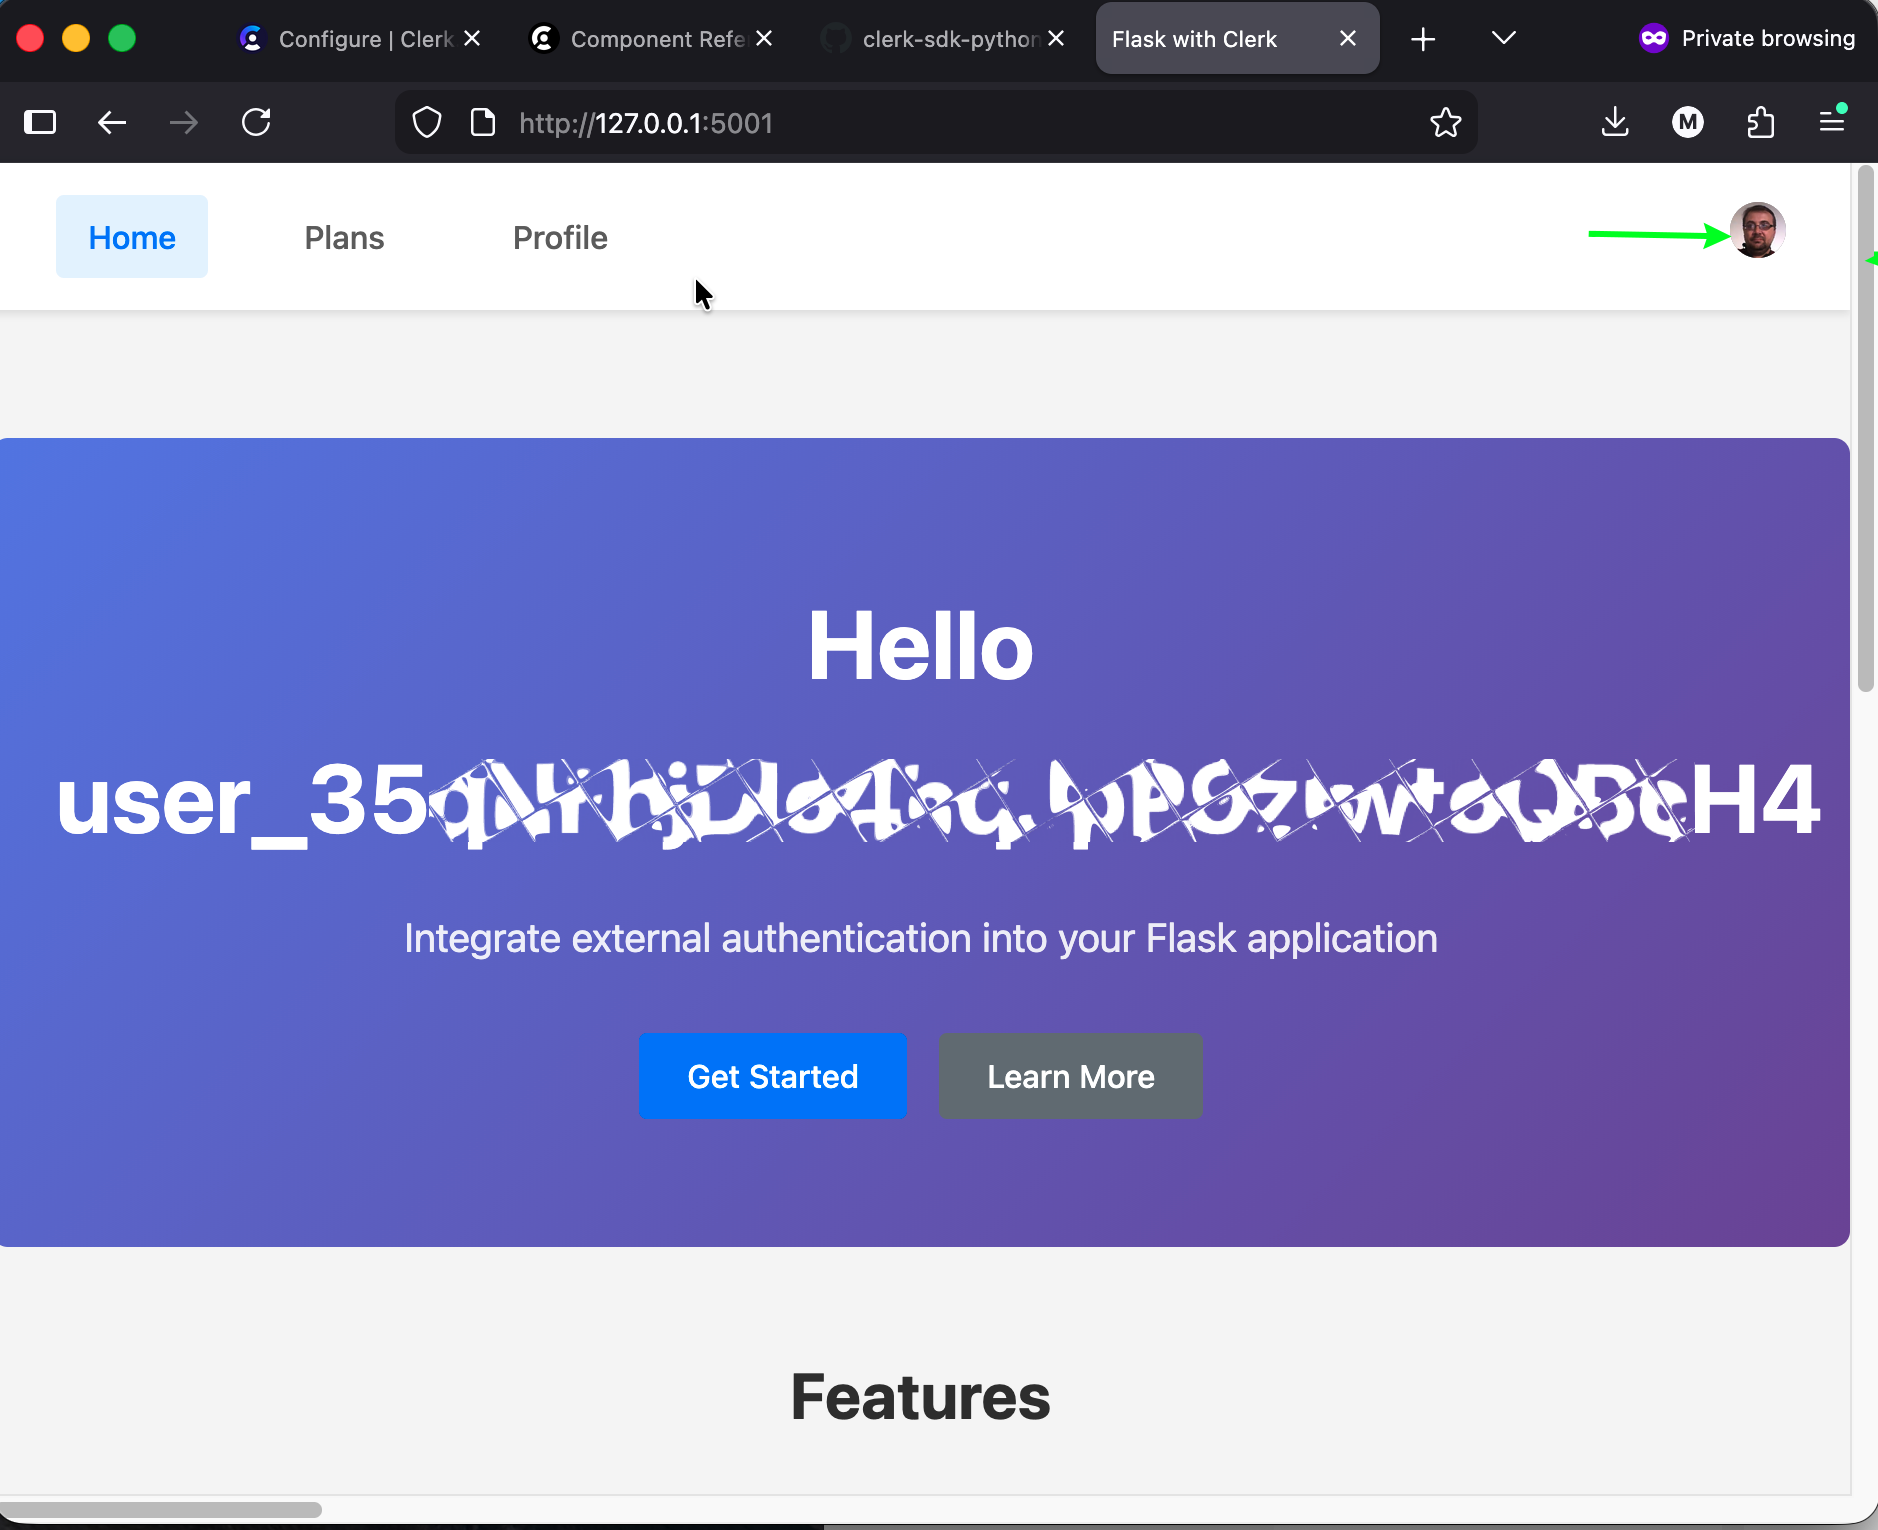
However, it would be nice to greet users by name instead of a cryptic identifier. You could do a custom post-registration process to collect additional information for new users. But at this point, you lose all the benefits of identity-as-a-service and start collecting and managing PII. Fortunately, we can resolve this by configuring a custom session in the Clerk application. Let's use the user's first and last name, which comes from user registration with Clerk or otherwise.
Open the Clerk dashboard and open your application. Select the Configure section, and find Sessions under Session Management on the right.
Scroll down the page to the Customize session token.
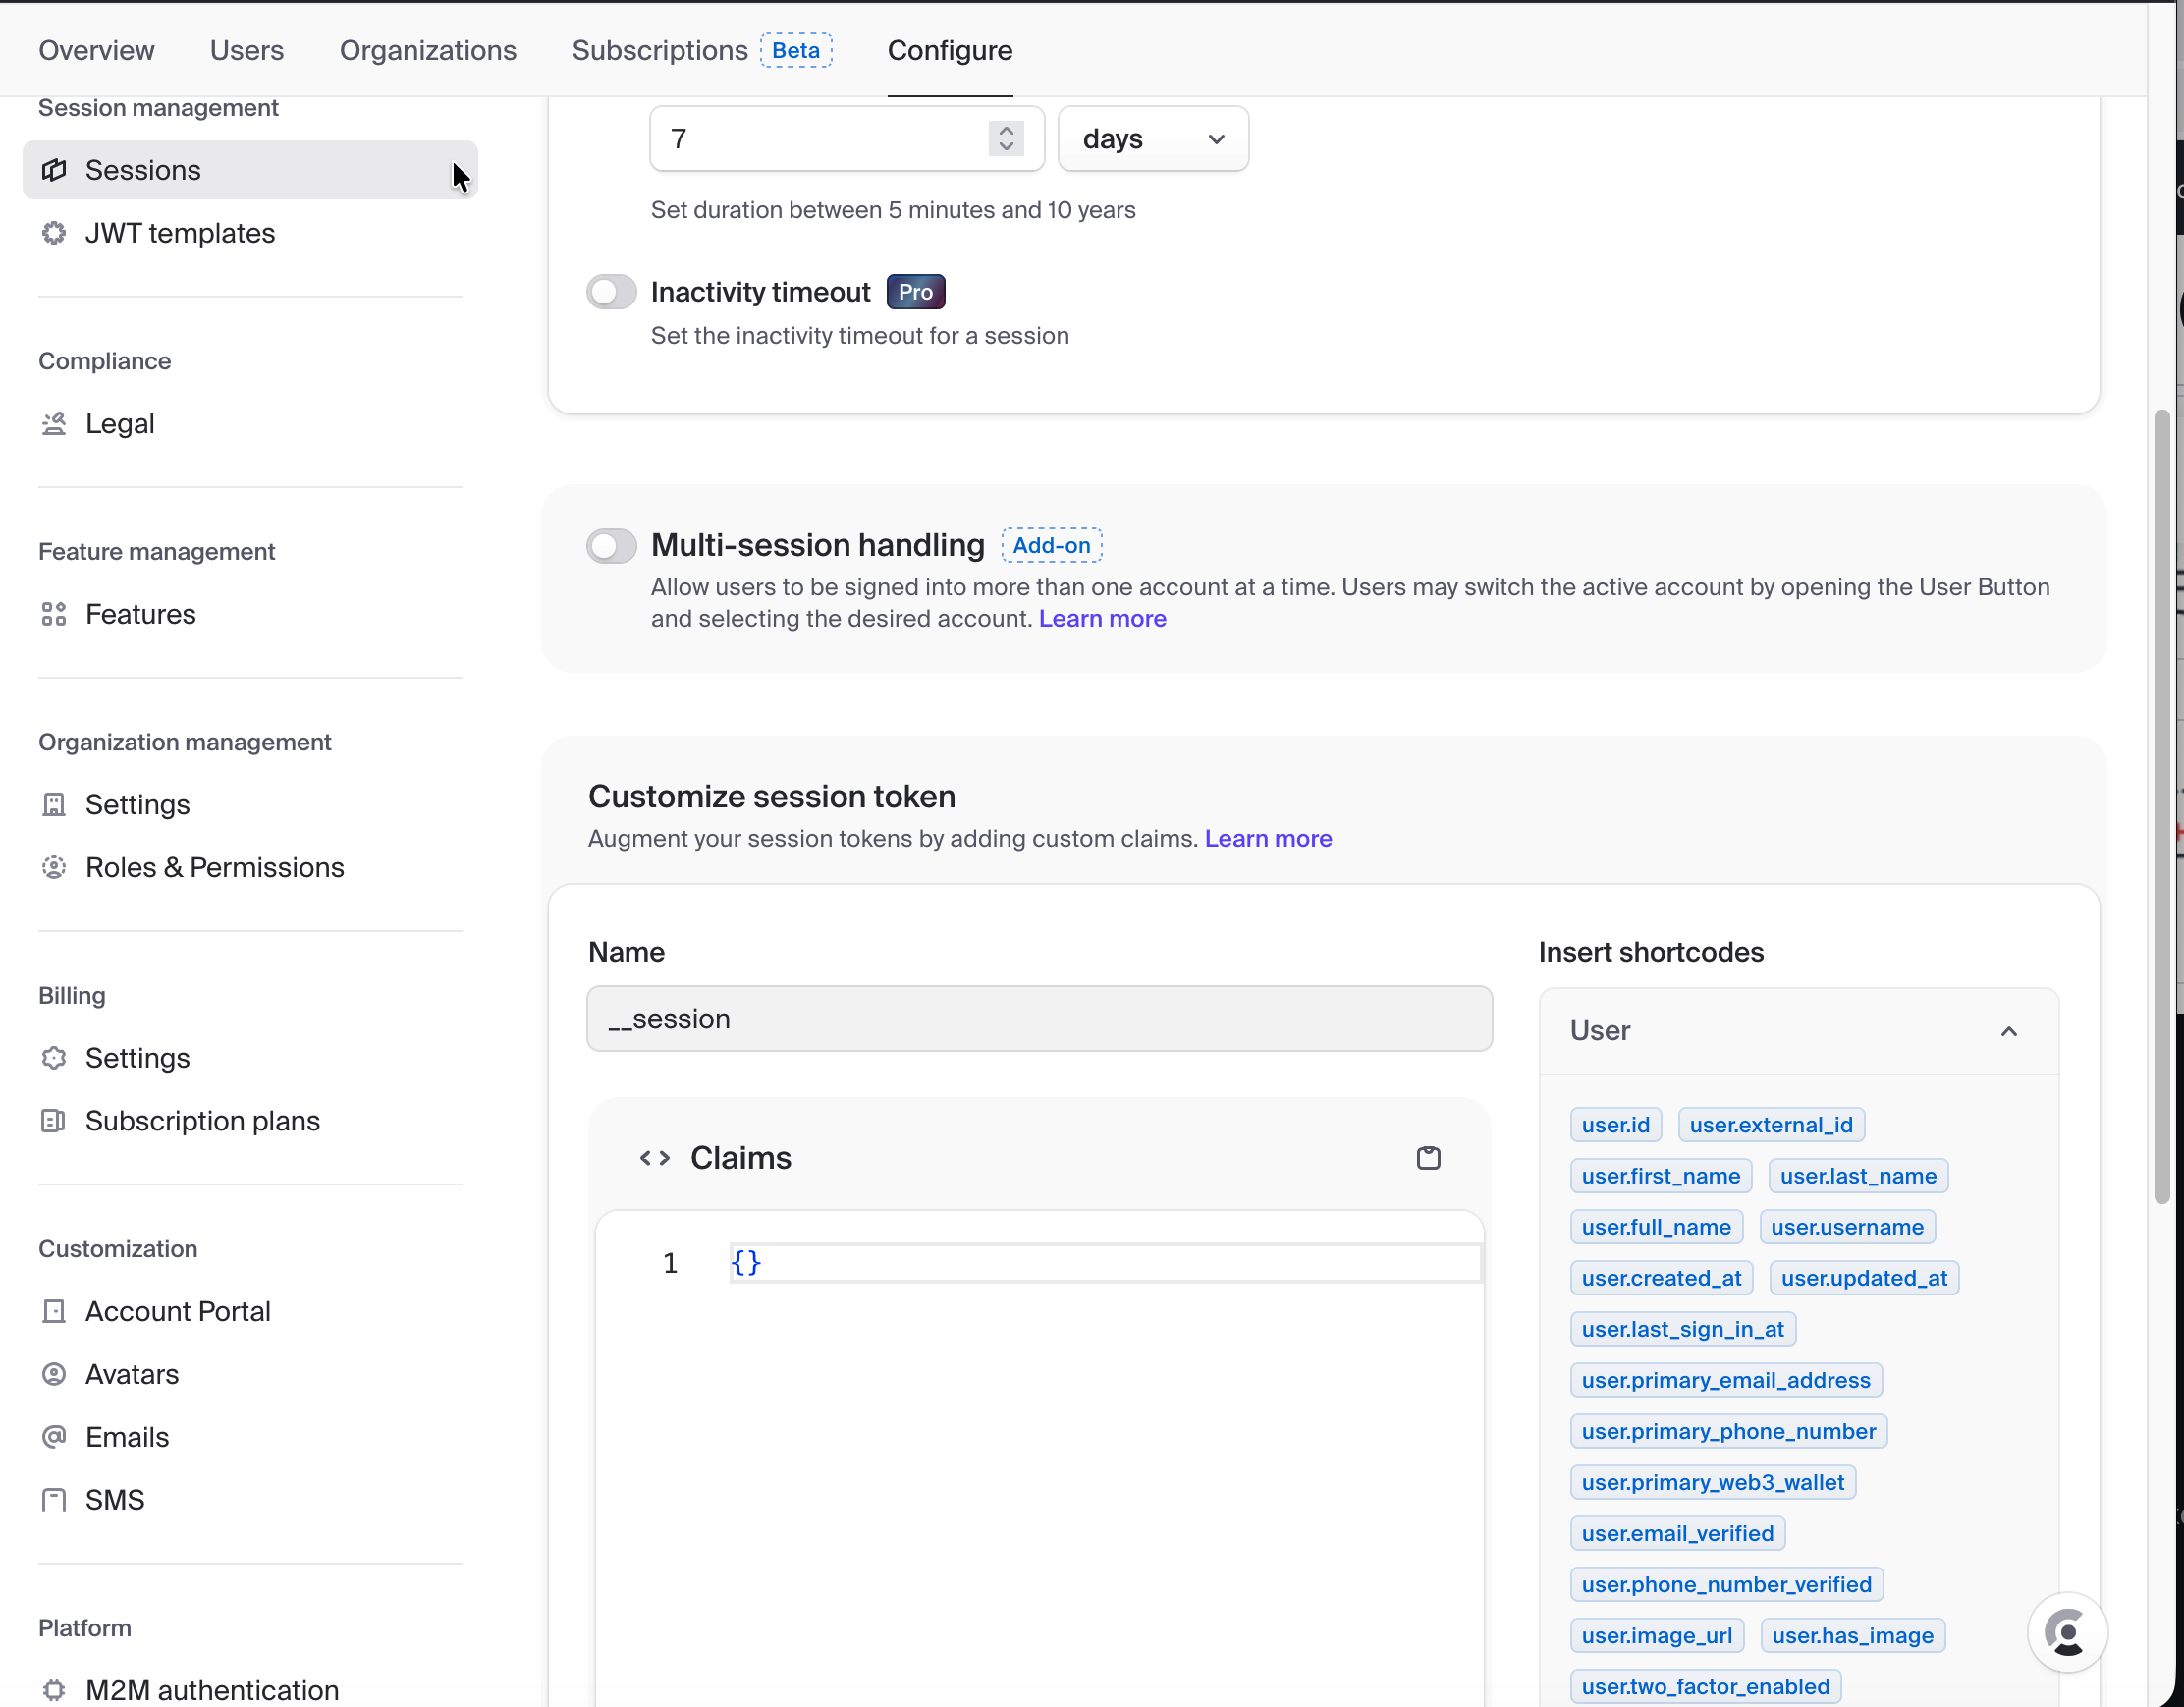
You can pass custom fields or use shortcodes from the left. For now, we will add the user's first and last names.
Add additional fields under claims, similar to one below.
{
 "uid":"{{user.username}}",
 "last":"{{user.last_name}}",
 "first":"{{user.first_name}}"
}
Update the index.html template and replace references to the "sub" attribute with the appropriate first and last elements.
<div class="feature-card">
{% if is_authenticated %}
<h3>Welcome {{ clerk_state.payload.first }}
{{ clerk_state.payload.last }}</h3>
<p> This is a personalized greeting
for authenticated users only</p>
{% else %}
<h3>Welcome to the Clerk-powered Application</h3>
<p> This is a public greeting message.
Use the login button for Sign-In</p>
{% endif %}
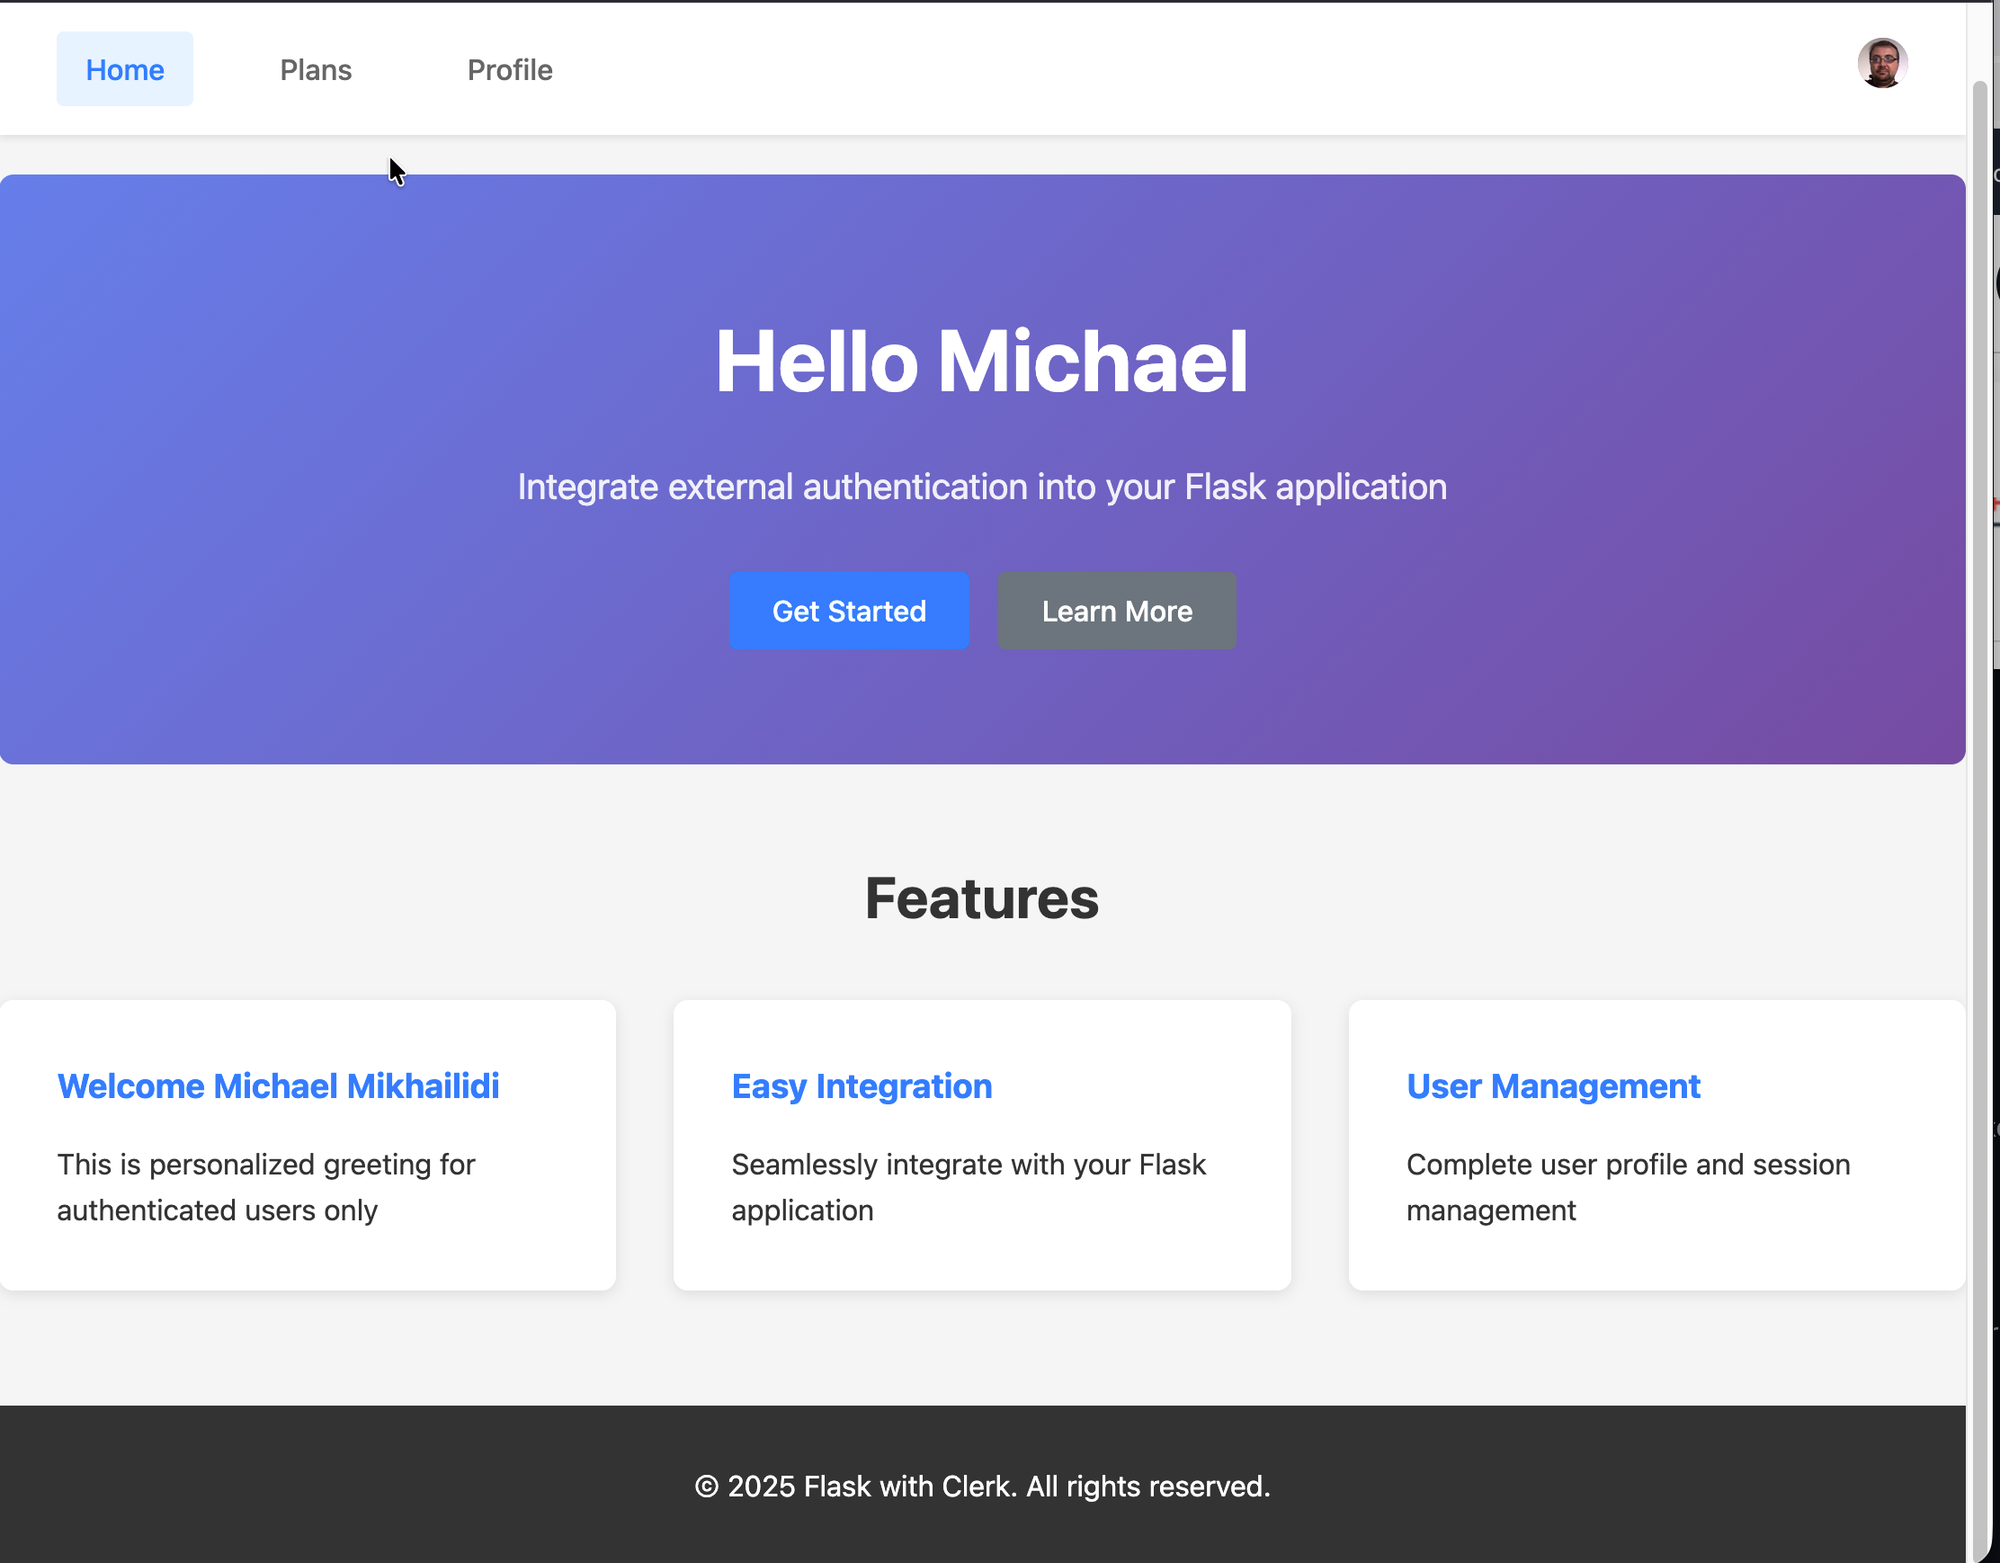
</div>The code above checks the session state and, if the user is signed in, references custom claim fields (clerk_state.payload.first, clerk_state.payload.last). Now the application page looks as one may expect from an application.
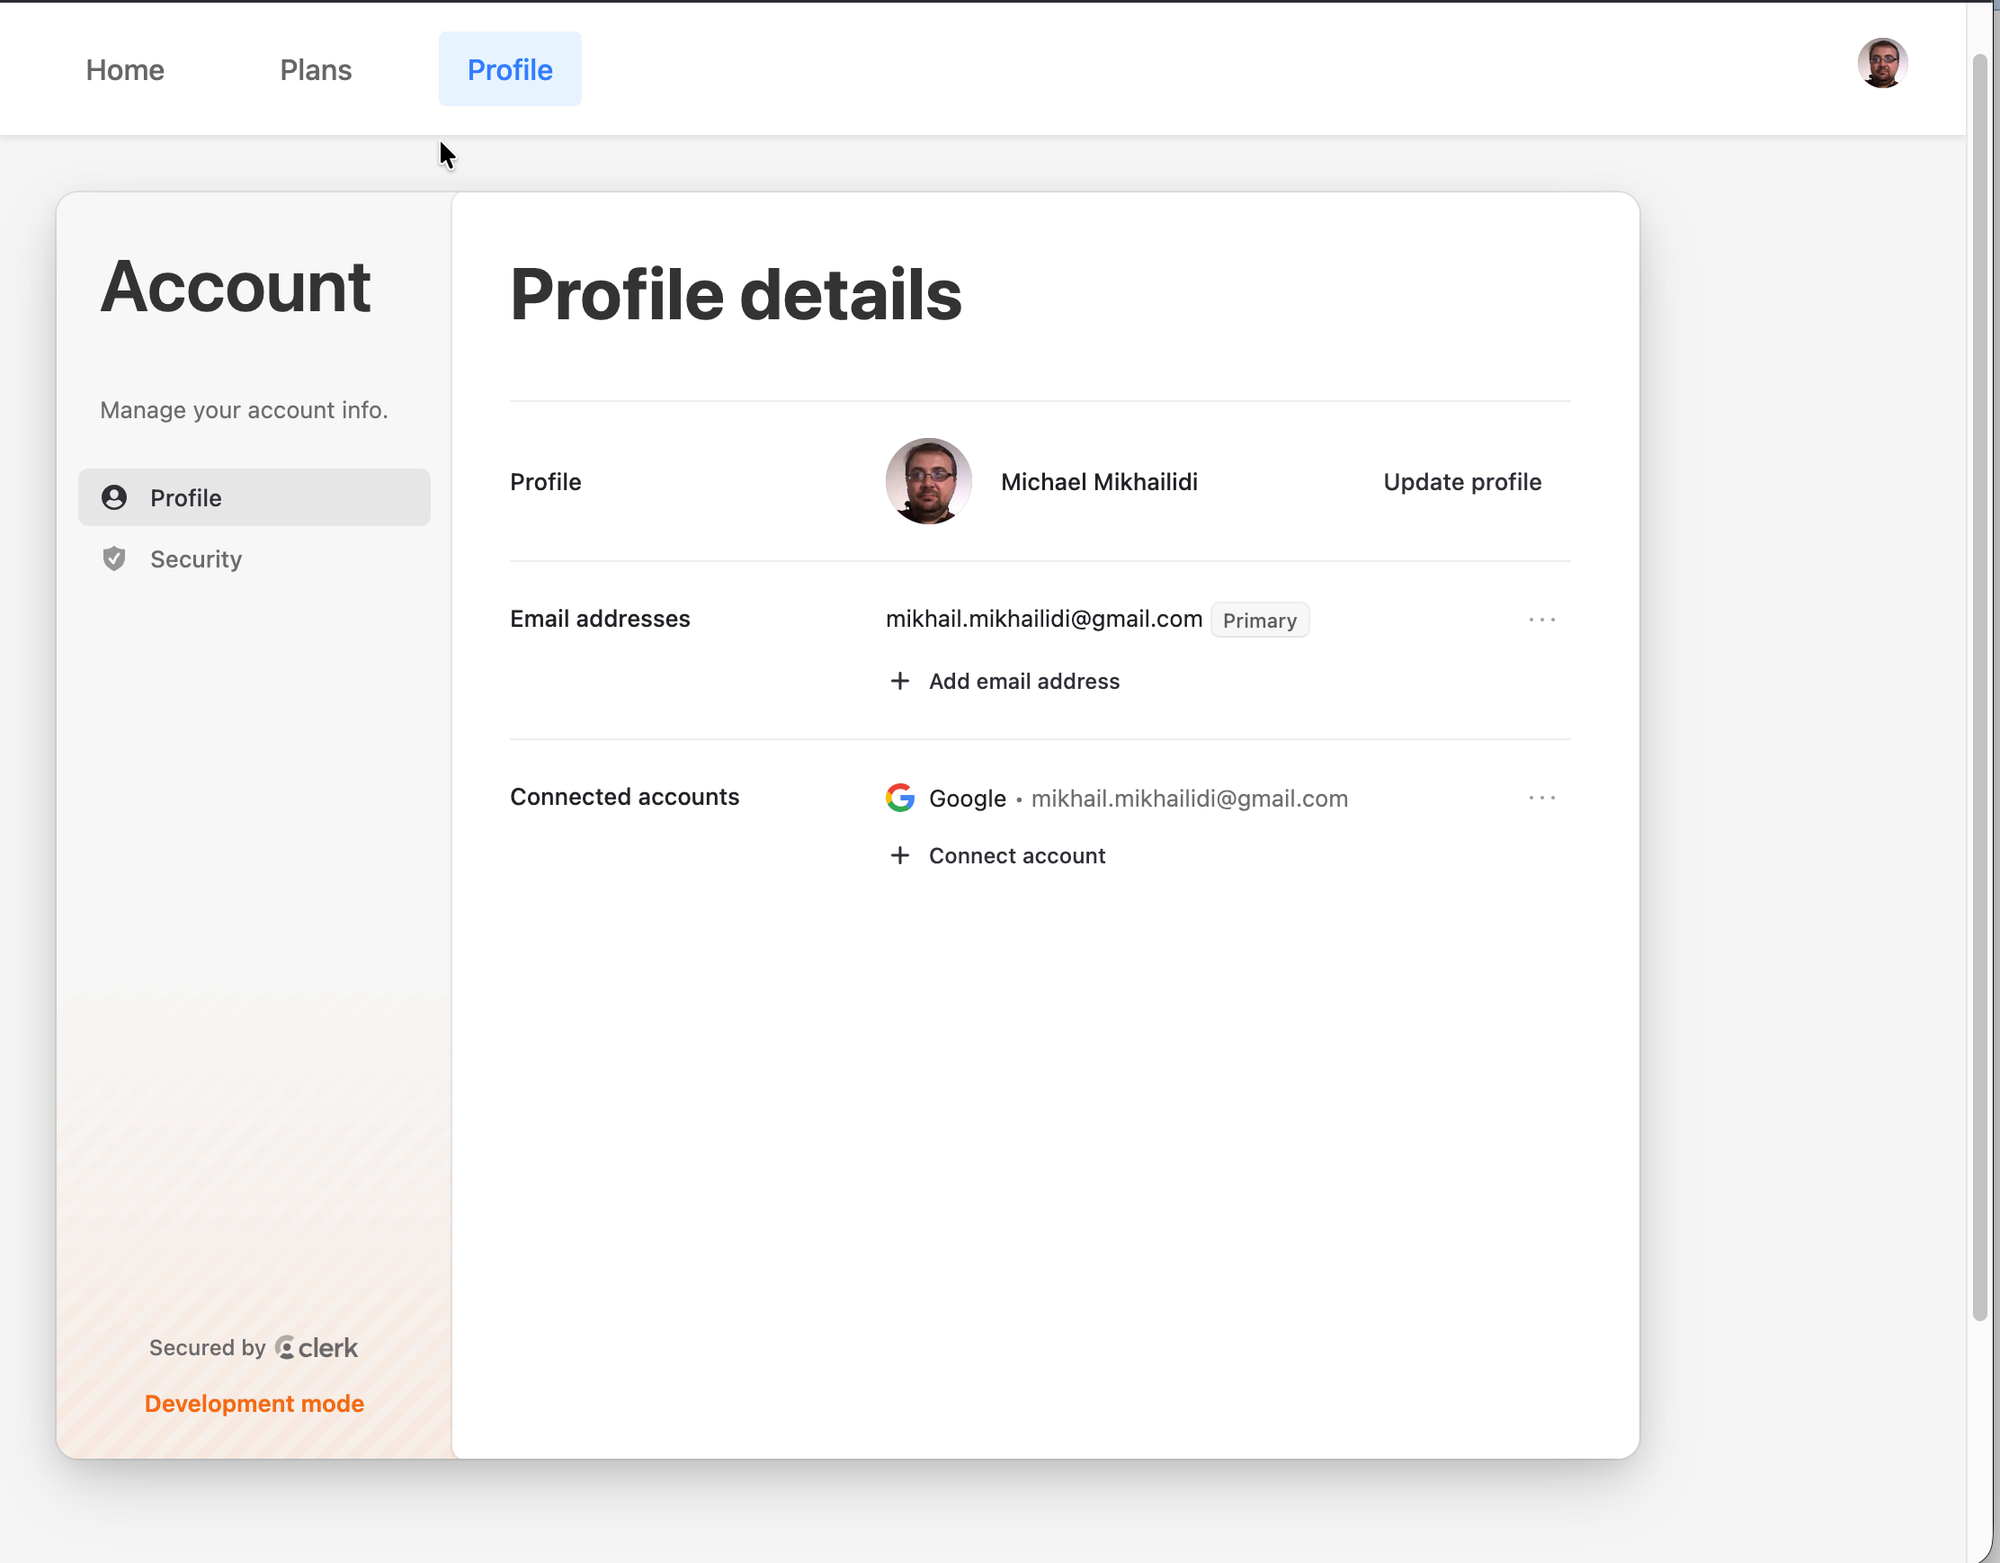
Additionally, to client-side JavaScript and server-side claims, Clerk offers a set of web components that we will use to provide access to the user profile and subscription plans. I removed all placeholders created by Claude and left the outermost profile container and the internal DIV element with the "user-profile" ID. The last step is to ensure that footer.html mounts the user profile component.
// Mount user profile on the profile page
const profileDiv = document.getElementById('user-profile')
// Display the mount results to avoid flash of unstyled content
if (Clerk.user && profileDiv) {
        Clerk.mountUserProfile(profileDiv)
}
Now, open the profile page, and if everything is in place, you have the standard user account and profile management available.
I left the look and feel as is, but you may find the customization guide and web components to match your design.
Let's get back to the Clerk dashboard, enable billing, and create subscriptions for the application.
Open the dashboard and log in with your account. Access the application and select the Subscriptions tab. Click on the "Get started" button, and it will redirect you to the subscriptions settings. Flip the switch next to "Enable user billing," save the changes using the transaction control pop-up.
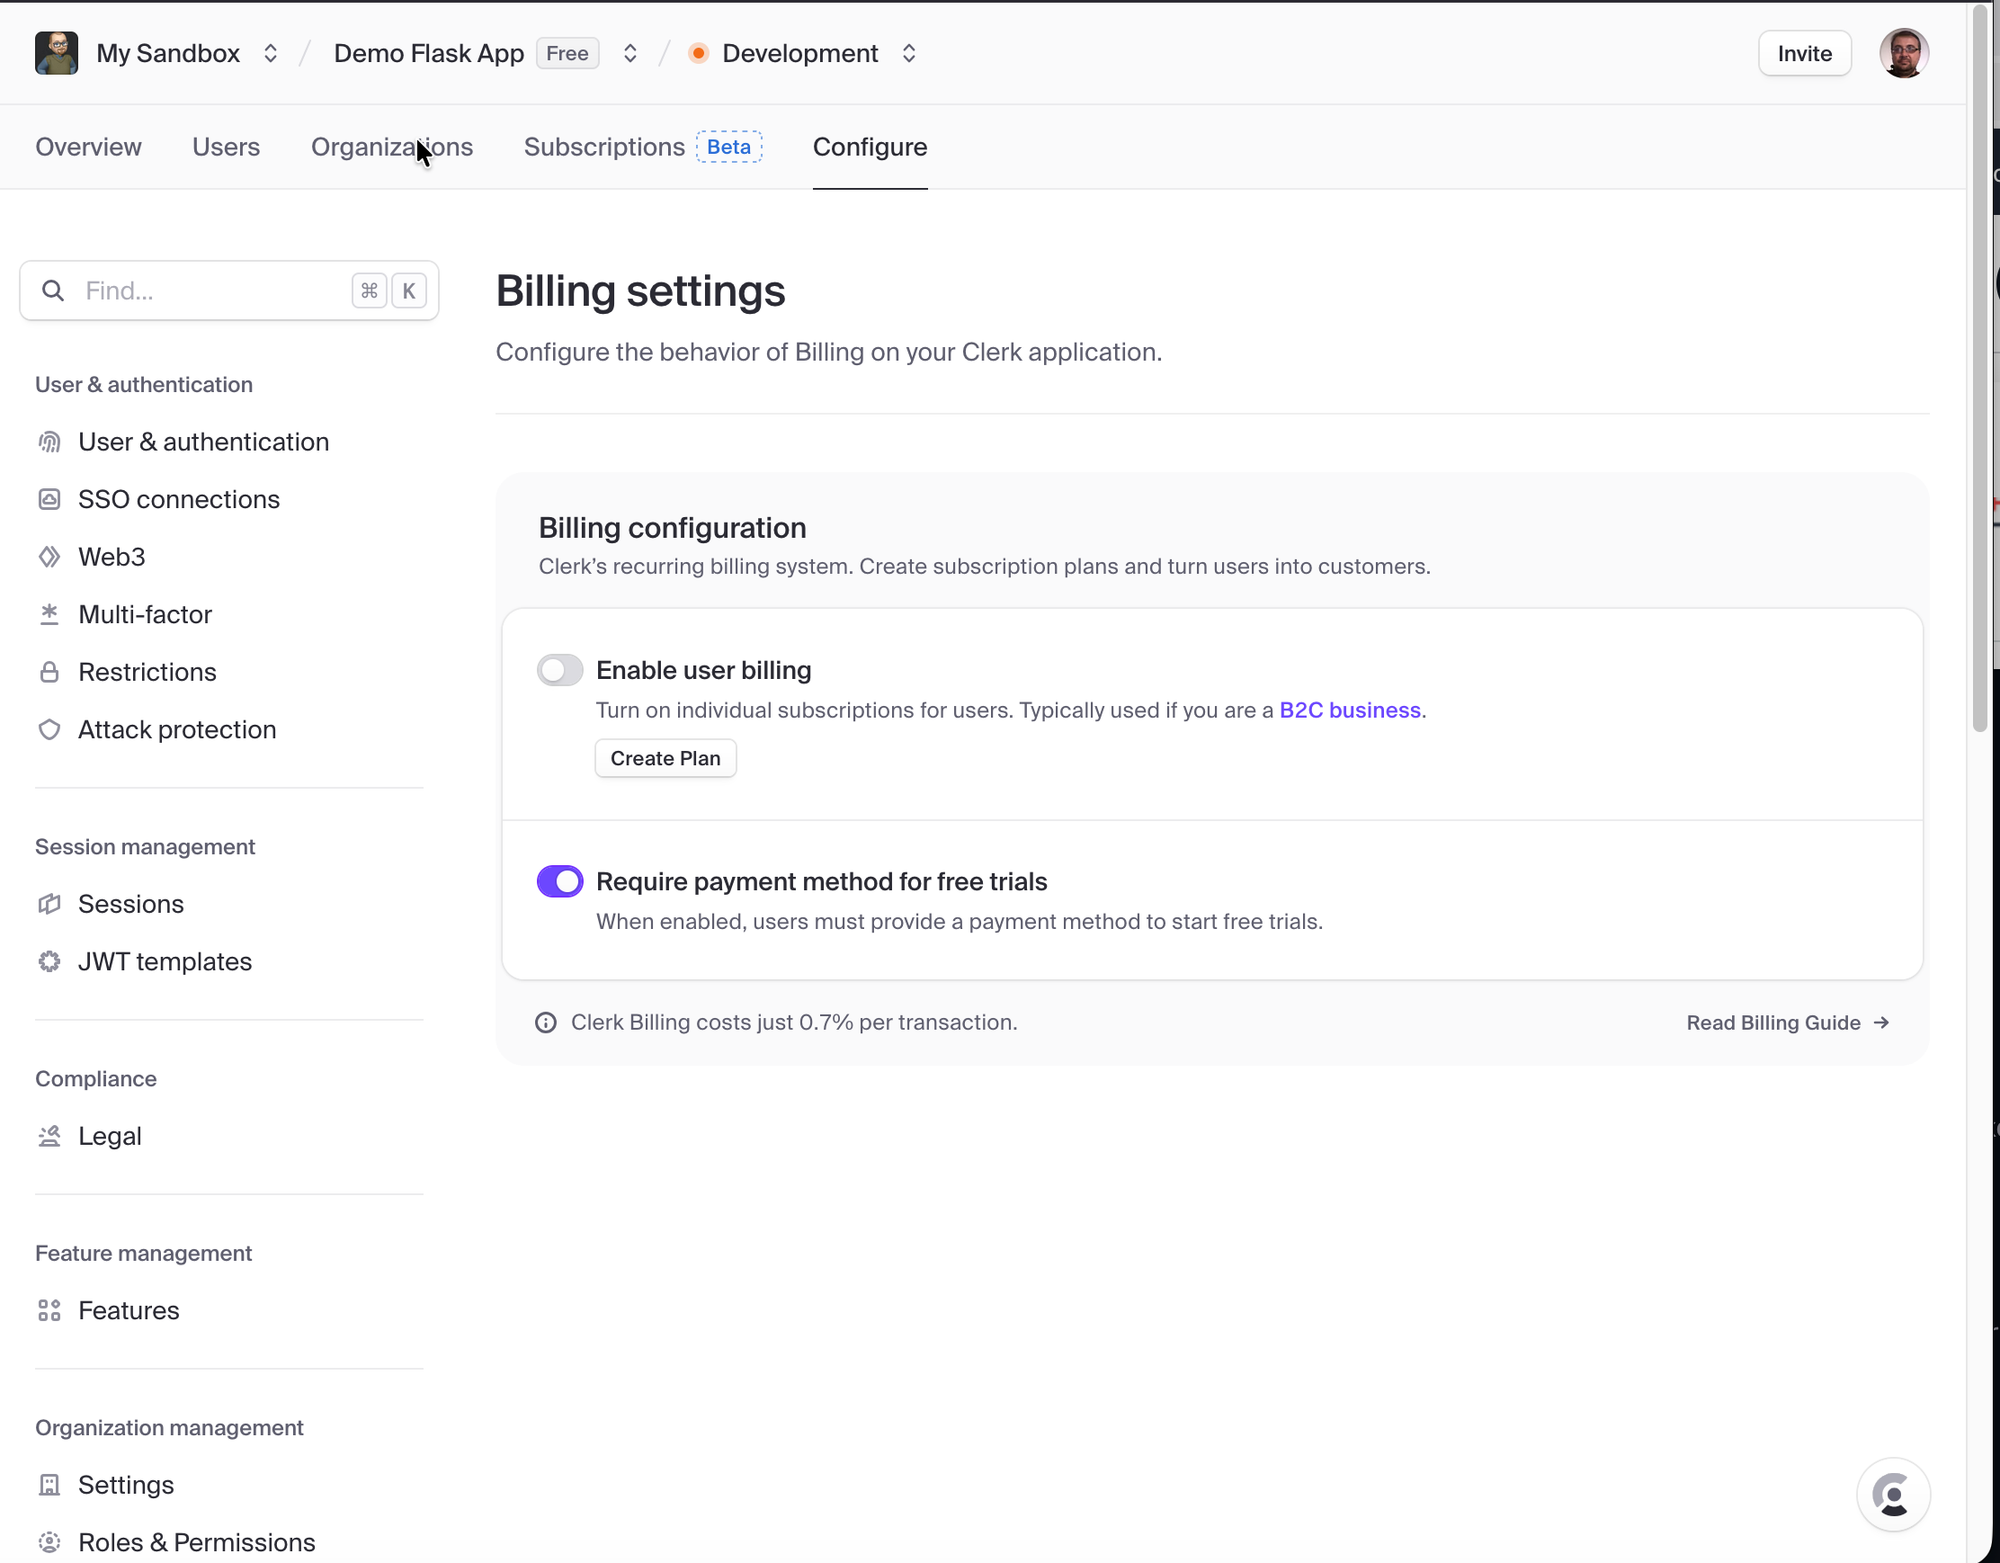
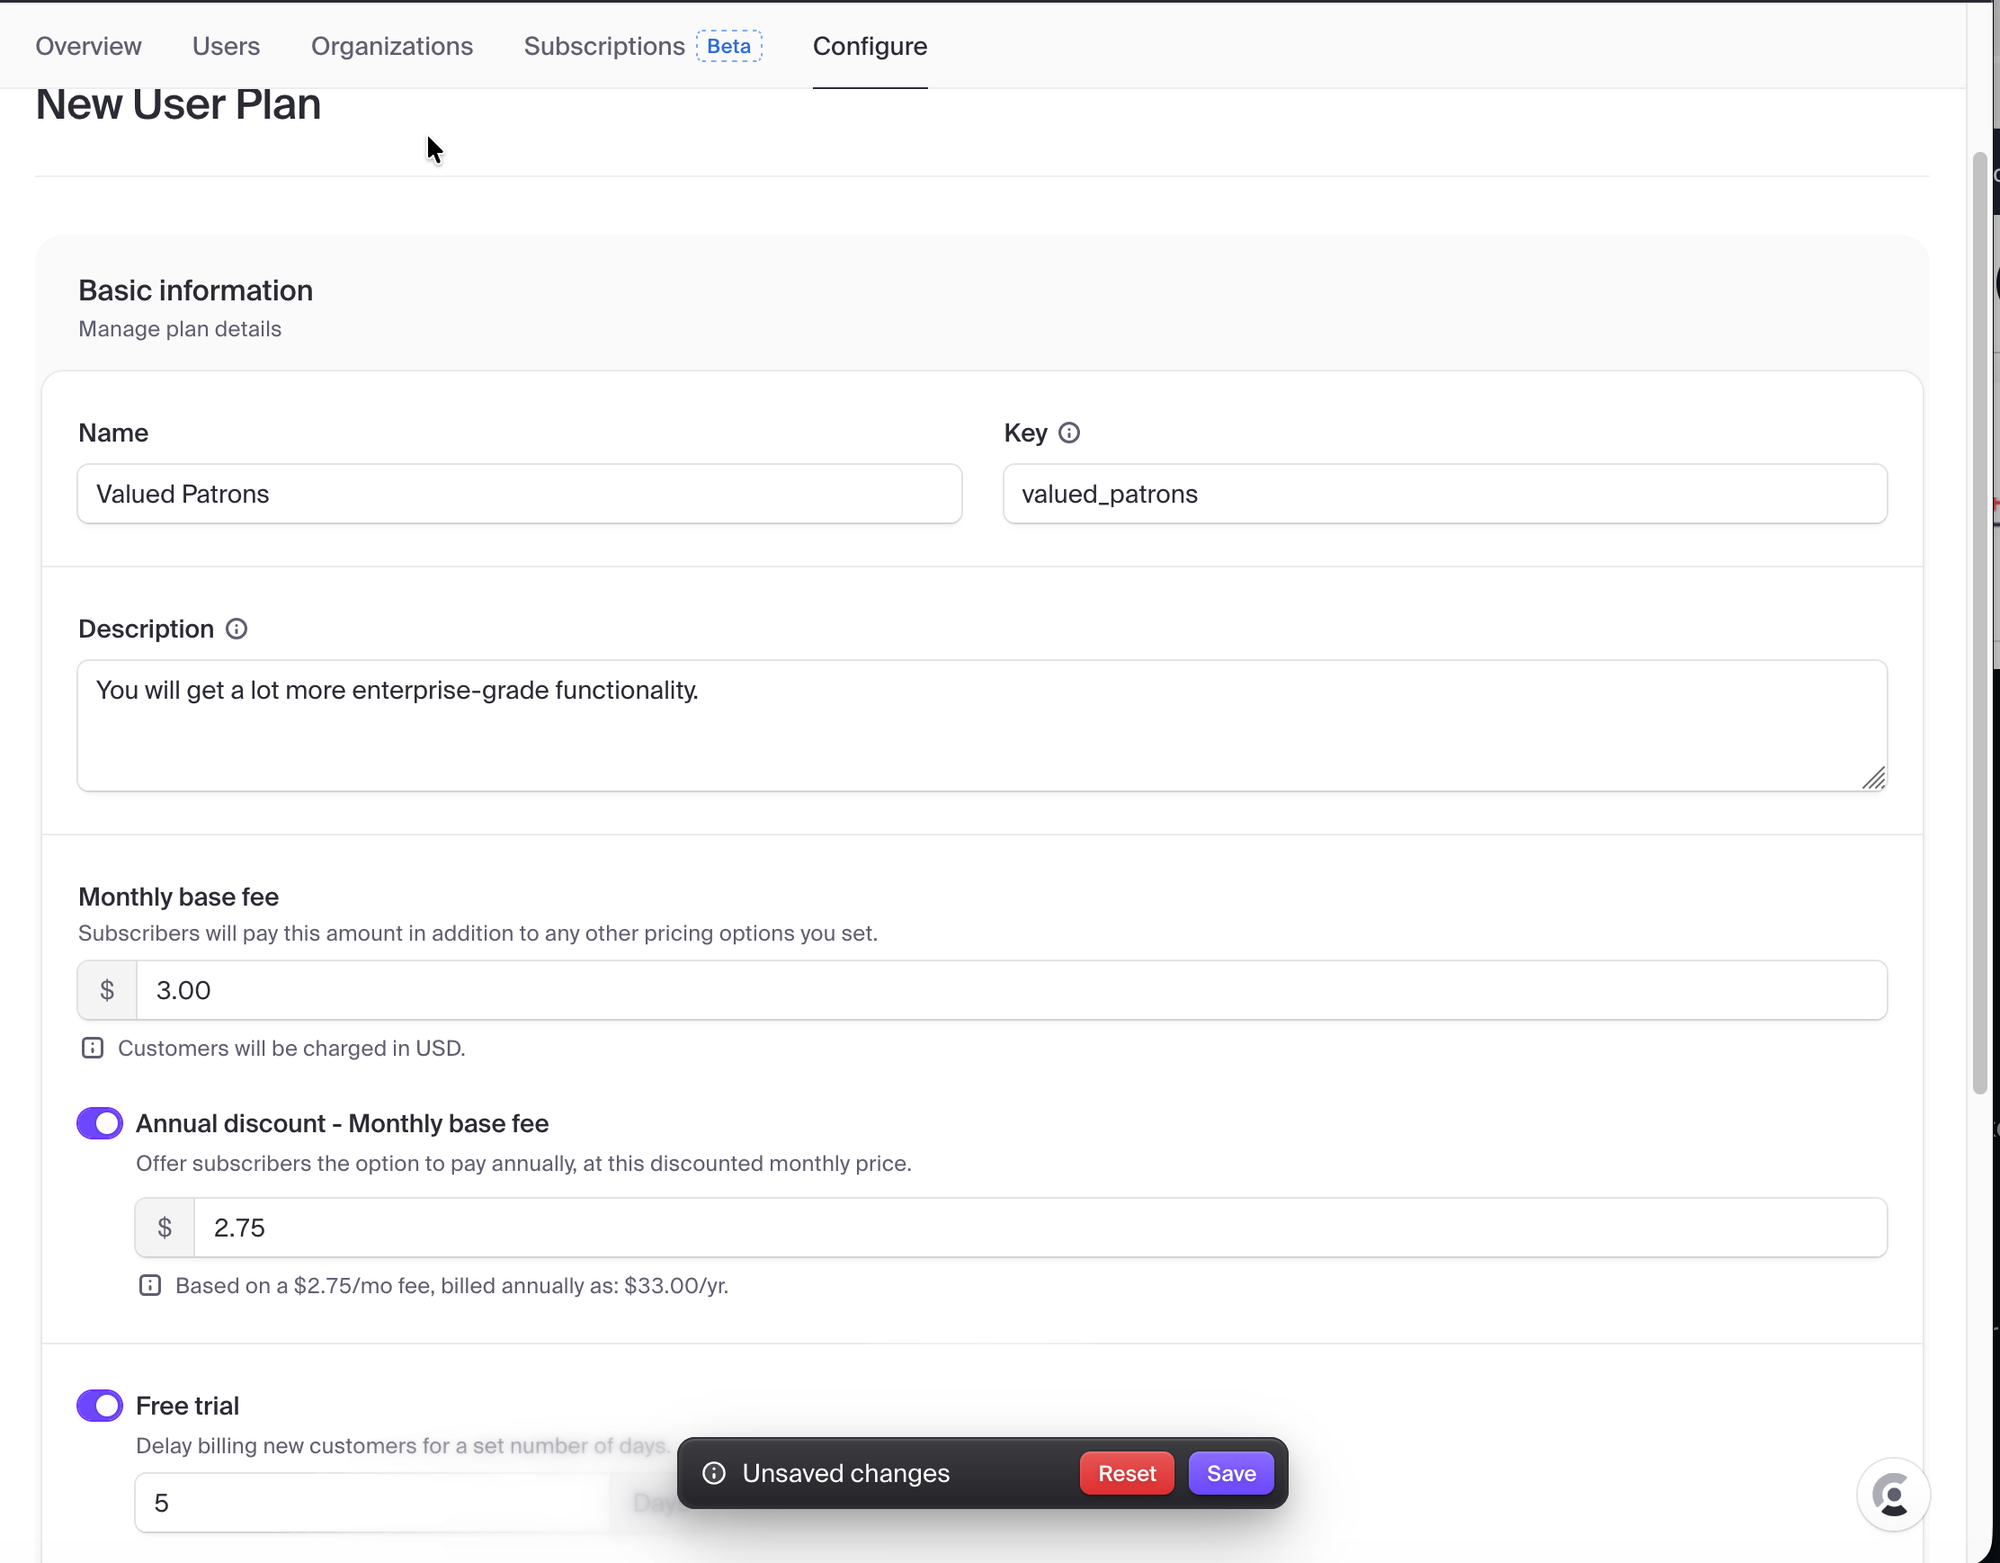
Click the "Create Pan" button to define a new subscription plan(-s) and define plan features. Use your imagination and best judgment to define subscription plans and features for your application. Save the changes.
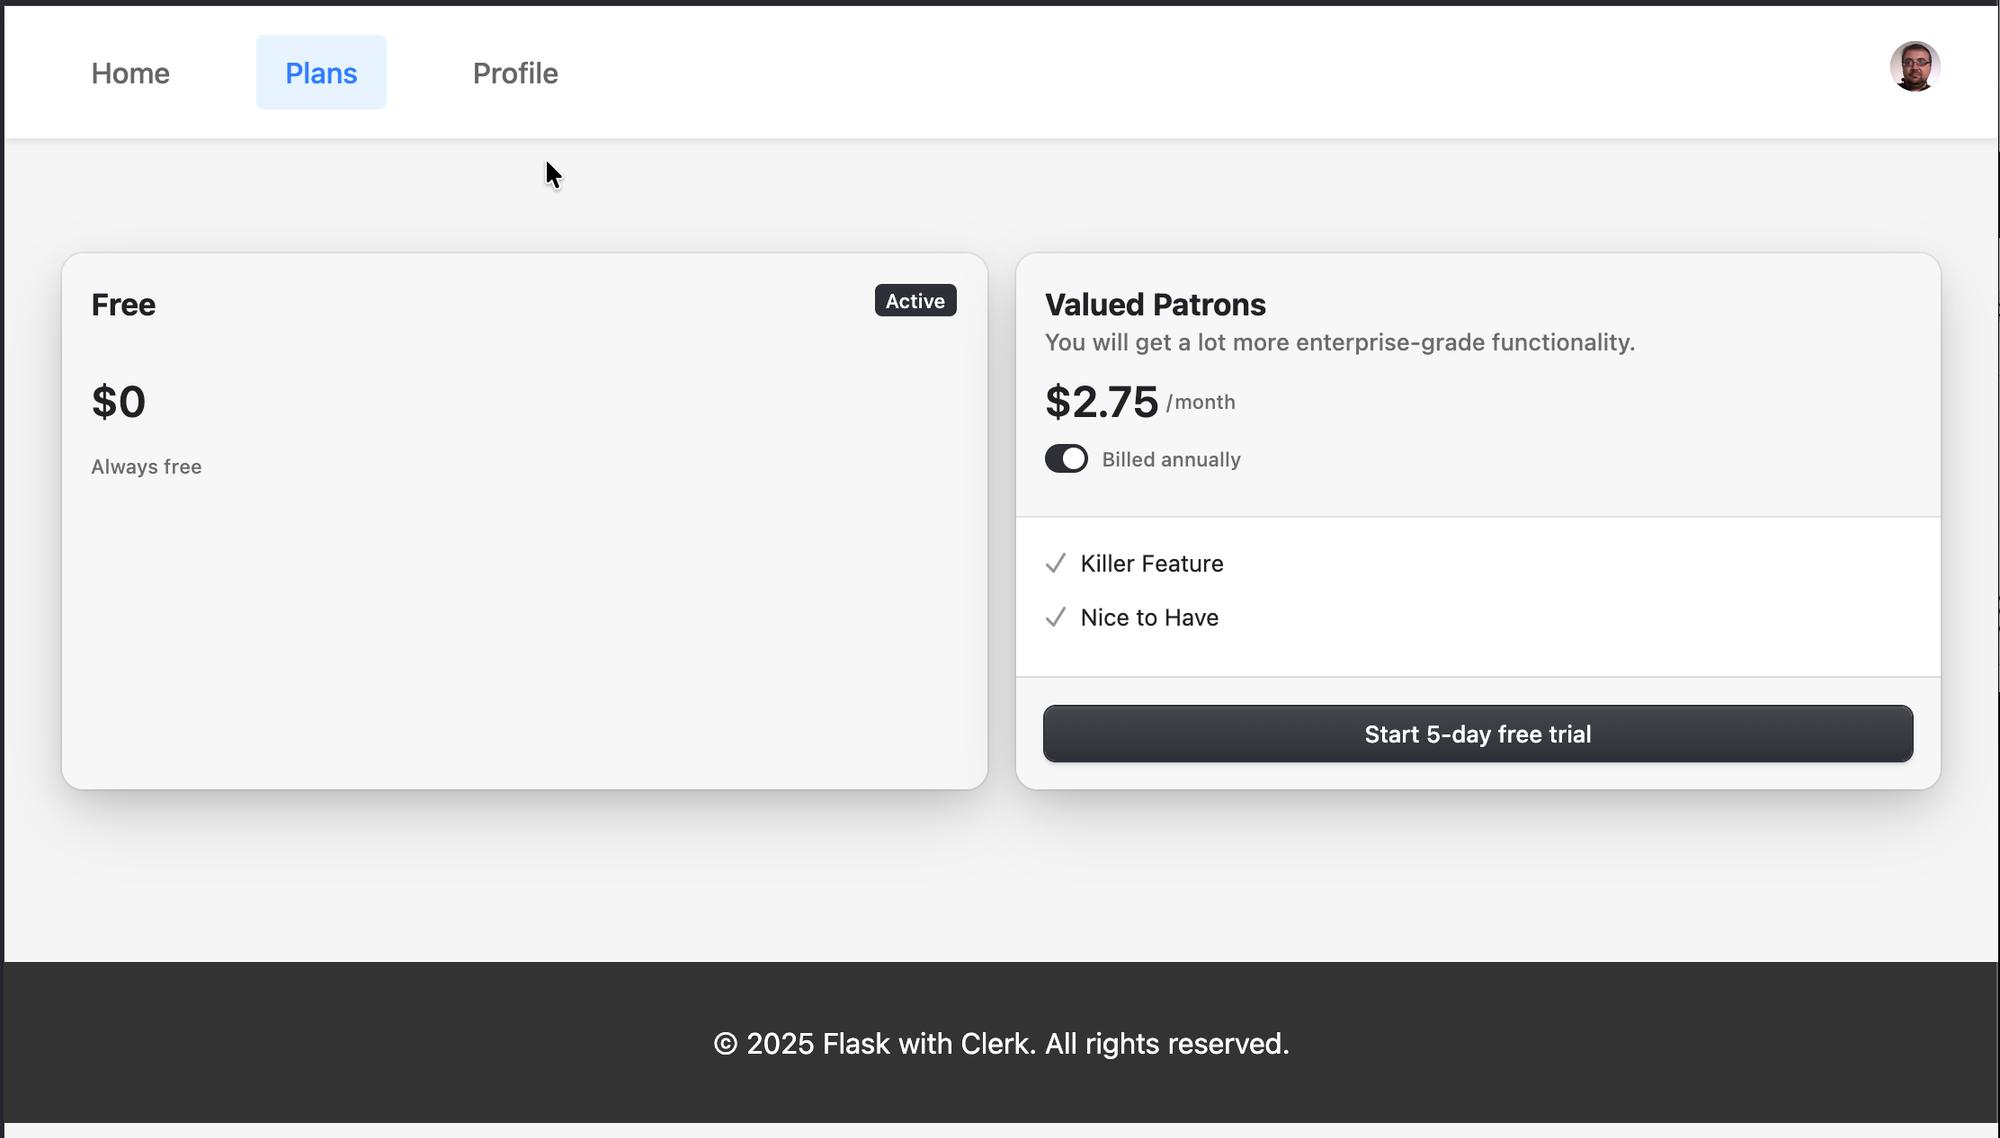
Now, we have our free plan (available by default) and subscription plan for your potential customer base. Add the PricingTable web component, the way we mount the user profile. The only difference is that this component should be available for all users.
The only missing piece is to let the backend know if the user has an active plan and what is available.
The new function will check the existing subscription status, get the plan name from the active subscriptions, and return the new dictionary. Not production-ready, but suitable for demonstration purposes.
def get_user_subscription(userid):
  res = clerk_client.users.get_billing_subscription(user_id=userid)
  if res is not None:
     logging.debug(f" User {userid} subscribed to {res}")
     return  {"sub": userid,
              "plan_status": res.status.value,"plan":
               res.subscription_items[0].plan.name}
  else:
     return None
Adjust the preprocessor function to store the subscription object in the session.
@app.before_request
def request_clerk_state():
 # Session processing ...
    session['clerk_state'] = _request_state
    # Collect subscription details
    _sub_stat = get_user_subscription(_request_state.payload['sub'])
        if _request_state.payload else None
    logging.debug(f" Subscription status is {_sub_stat}")
    # Store a new session object
    session['subs'] = _sub_stat
 # The rest of the function ...
And pass a new parameter to the index.html template.
@app.route('/')
def index():
    _cs = session.get('clerk_state')
    _pl = session.get('subs')
    logger.debug(f"Rendering plans page with clerk state: {_cs} and plan {_pl}")
    return render_template('index.html',
        clerk_publishable_key=os.getenv('CLERK_PUBLISHABLE_KEY'),
        is_authenticated=_cs.status == AuthStatus.SIGNED_IN
              if _cs else False,
        clerk_state=_cs,
        clerk_plan=_pl)
Once again, adjust the feature card on the main page to display subscription status.
<div class="feature-card">
 {% if is_authenticated %}
  <h3>Welcome {{ clerk_state.payload.first }}
    {{ clerk_state.payload.last }}</h3>
  <p> Your subscription is
    <strong>{{ clerk_plan.plan_status }}</strong></p>
  <p> Activle plan is <strong>{{clerk_plan.plan}}</strong></p>
 {% else %}
  <h3>Welcome to the Clerk-powered Application</h3>
  <p> This is a public greeting message.
    Use the login button for Sign-In</p>
 {% endif %}
</div>
Display User Session and Subscription Details
Save the changes, restart the application, and test your new, protected application with subscription plans. You could always find the source code for the demo project in the Flask with Clerk example repository.
In conclusion, we walk through significant changes to the standard Flask application. We integrated security, adjusted session management, defined subscriptions, and allowed our potential customers to use any identity provider and authentication method they wanted. Yet, all those changes are insignificant compared to the full-scale implementations of the user authentication, registration, and authorization. It comes with a price, but you outsource the risks, saving money on the implementation and concentrating on your application features.
Where to start: https://chronicler.tech/clerk-identity-as-a-service/
Adding Security: https://chronicler.tech/clerk-secuirty-injection/
This Post: https://chronicler.tech/clerk-session-and-plans/